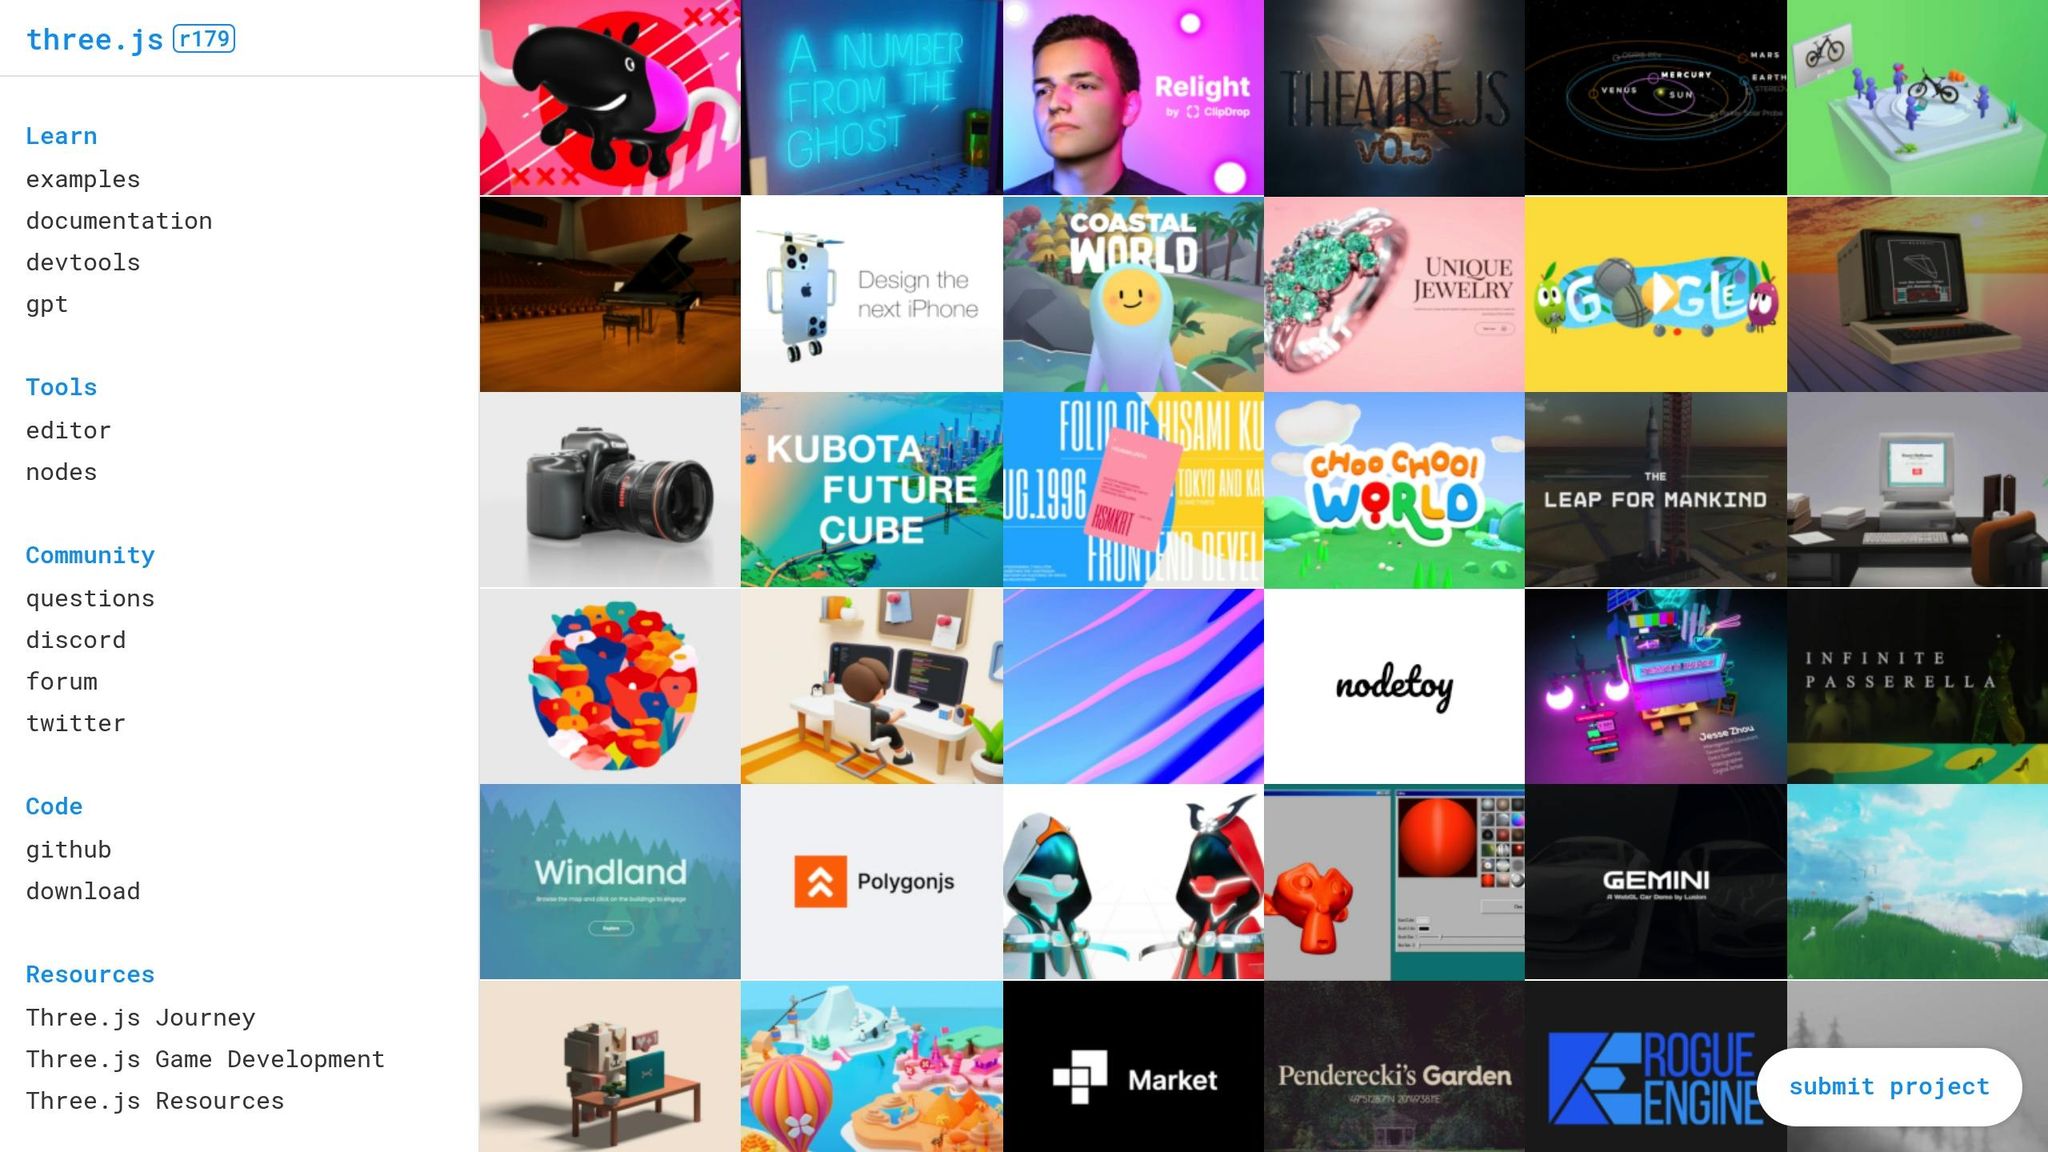
Want to create interactive 3D experiences directly in a browser? Three.js makes it possible. This JavaScript library simplifies building 3D viewers, turning complex WebGL tasks into manageable steps. From e-commerce product configurators to advanced data visualizations, startups and developers are leveraging Three.js to build immersive, browser-based tools.
Why use Three.js?
- It’s free, open-source, and doesn’t require external plugins.
- Reduces development complexity with a user-friendly API.
- Enables hardware-accelerated rendering for smooth performance.
Key components of a 3D viewer:
- Scene: The container for all 3D objects.
- Camera: Defines the perspective for viewing the scene.
- Renderer: Converts 3D data into visuals on a 2D screen.
- Objects: The 3D shapes or models displayed.
- Lighting: Adds depth and realism to the scene.
Steps to get started:
- Install Node.js and npm for dependency management.
- Use tools like Visual Studio Code and modern browsers for development.
- Import Three.js, set up a scene, camera, and renderer, and add objects like cubes or spheres.
Performance tips:
- Use frustum culling to render only visible objects.
- Optimize textures and use geometry instancing for repeated objects.
- Implement adaptive quality settings for better performance across devices.
Integrating 3D viewers into products:
- Build reusable components for scalability.
- Add user-friendly controls like zoom and rotation.
- Test compatibility across devices and browsers, focusing on WebGL support.
Three.js is a powerful tool for startups and developers looking to add 3D functionality to their web applications. With proper setup and optimization, you can create engaging and responsive 3D viewers that work seamlessly across devices.
Add an Interactive 3D Model to Your Website // Three.js Tutorial for Beginners
Setting Up a Three.js Project
Starting with Three.js involves setting up the right tools and environment to ensure a smooth development process. A well-prepared setup reduces headaches and keeps things running efficiently.
Development Tools and Environment Setup
To get started, you’ll need some standard tools for JavaScript development.
First, download and install the latest LTS version of Node.js from its official site. Along with Node.js, you’ll get npm (Node Package Manager), which is essential for installing Three.js and managing dependencies in your project.
For writing and editing code, Visual Studio Code is a top choice among developers. It provides features like syntax highlighting, debugging tools, and extensions tailored for Three.js. For instance, the "Three.js Snippets" extension can save you time by offering auto-completion for frequently used Three.js methods.
Modern browsers require a local server to load files securely, so set up a local development server to avoid browser security issues. Additionally, you’ll need a modern web browser for testing and debugging. Chrome DevTools has robust WebGL debugging capabilities, while Firefox Developer Edition includes tools for 3D scene inspection, making it easier to analyze your work.
Once your tools are ready, you’re set to install and configure Three.js.
Installing and Configuring Three.js
With your environment prepared, installing Three.js is straightforward. Using npm is the easiest and most reliable way to ensure you’re working with the latest stable version.
- Create a new project directory and open your terminal inside it.
- Run
npm init -yto generate apackage.jsonfile, which will track your project’s dependencies. - Install Three.js by running
npm install three. This command downloads the library and stores it in yournode_modulesfolder.
Next, create an index.html file in your project directory. This file will include a basic HTML5 structure, a <canvas> element for rendering your 3D scene, and a link to your JavaScript file. Keep the HTML simple – Three.js handles most of the heavy lifting through JavaScript.
In your main JavaScript file, import Three.js using ES6 module syntax:
import * as THREE from 'three';
This gives you access to all the tools and classes within the library. If you’re aiming to optimize your project for production, consider importing only the specific modules you need to reduce the bundle size.
For faster development, use a bundler like Vite. Install it with:
npm install --save-dev vite
Then create a vite.config.js file to ensure smooth handling of Three.js imports. Vite’s hot module replacement makes development faster and more efficient.
Once you’ve completed these steps, you’re ready to set up the core files for your project.
Browser Compatibility and WebGL Support Testing
After configuring your project, it’s important to test browser compatibility to ensure your 3D scenes render smoothly across different platforms. Since Three.js relies on WebGL for hardware-accelerated 3D graphics, verifying compatibility is a must.
Chrome and Edge generally provide the best performance and compatibility for Three.js, thanks to their support for WebGL 2.0, which offers advanced rendering capabilities. Firefox also works well, though you may notice slight performance differences with complex scenes. Safari, on both desktop and mobile, supports Three.js effectively, though iOS Safari may struggle with some advanced WebGL extensions.
To check for WebGL support in your application, Three.js includes a built-in WebGL detector. Import it with:
import WebGL from 'three/addons/capabilities/WebGL.js';
Then use WebGL.isWebGLAvailable() to confirm basic WebGL compatibility. For WebGL 2.0, use WebGL.isWebGL2Available(). If the user’s browser lacks support, you can display a message or suggest an upgrade.
Mobile compatibility is another critical factor. iOS devices generally handle Three.js well, but Android performance varies depending on the device and browser. It’s a good idea to test your application on actual devices early in development to identify any issues.
Performance testing is essential throughout the development process. Use Chrome DevTools’ Performance tab to monitor frame rates and pinpoint bottlenecks. You can also integrate the Stats.js library (created by the same developer as Three.js) into your app for real-time performance tracking.
For older browsers or devices with limited WebGL support, consider adding fallback options. For example, you might display static images or simplified 2D graphics to ensure your application remains usable, even without full 3D rendering.
During development, browser caching can cause issues by serving outdated versions of your code. Configure your local server to disable caching for JavaScript and JSON files to avoid this problem and ensure you’re always testing the latest version of your project.
Building Your First 3D Viewer
Now that your environment is ready, it’s time to dive into the basics of creating a 3D viewer. At its core, this process revolves around three primary components that work together to build interactive 3D experiences directly in your browser.
Creating the Scene, Camera, and Renderer
Every Three.js project begins with three key elements: a scene, a camera, and a renderer. Think of the scene as your virtual 3D world, the camera as the lens through which you view it, and the renderer as the tool that brings it all to life on the screen.
Start by creating a new JavaScript file and importing Three.js. Then, initialize your scene with:
const scene = new THREE.Scene(); scene.background = new THREE.Color(0x404040); // Neutral gray background Next, set up your camera. Use a PerspectiveCamera with the following parameters: a 75° field of view, an aspect ratio based on the browser window, and near/far clipping planes at 0.1 and 1000. Position the camera slightly away from the origin:
const camera = new THREE.PerspectiveCamera(75, window.innerWidth / window.innerHeight, 0.1, 1000); camera.position.z = 5; Finally, initialize the renderer. WebGLRenderer is the go-to choice for Three.js, and enabling antialias smooths out jagged edges for better visuals. Set its size to match the browser window and attach it to the document:
const renderer = new THREE.WebGLRenderer({ antialias: true }); renderer.setSize(window.innerWidth, window.innerHeight); document.body.appendChild(renderer.domElement); To ensure your viewer remains responsive, add a resize event listener. This will update the camera’s aspect ratio and the renderer’s size whenever the browser window changes dimensions.
Adding 3D Objects and Materials
With the foundation in place, you can now populate your scene with 3D objects. Three.js offers a variety of built-in geometry classes for shapes like cubes, spheres, and cylinders.
For example, to create a cube:
- Define the geometry:
const geometry = new THREE.BoxGeometry(1, 1, 1); - Choose a material for its appearance. A simple green cube might use:
const material = new THREE.MeshBasicMaterial({ color: 0x00ff00 }); - Combine the geometry and material into a mesh:
const cube = new THREE.Mesh(geometry, material); scene.add(cube);
If you want a more realistic look, swap out MeshBasicMaterial for MeshStandardMaterial. This material interacts with lighting, allowing you to adjust properties like metalness and roughness. To light your scene, you can add a directional light:
const light = new THREE.DirectionalLight(0xffffff, 1); light.position.set(1, 1, 1); scene.add(light); For animation, create a render loop using requestAnimationFrame. Within this loop, update properties like the cube’s rotation and redraw the scene:
function animate() { requestAnimationFrame(animate); cube.rotation.x += 0.01; cube.rotation.y += 0.01; renderer.render(scene, camera); } animate(); This setup ensures smooth, real-time animations.
Adding User Controls and Interaction
To make your viewer interactive, consider adding controls. OrbitControls is a popular choice – it lets users rotate, zoom, and pan the scene with ease. Start by importing it:
import { OrbitControls } from 'three/examples/jsm/controls/OrbitControls.js'; Then, initialize it with the camera and renderer:
const controls = new OrbitControls(camera, renderer.domElement); controls.enableDamping = true; // Smooth motion controls.maxDistance = 10; // Limit zoom-out distance For different interaction styles, you can explore alternatives like TrackballControls for more freedom, FlyControls for architectural explorations, or FirstPersonControls for gaming-like navigation.
To enable object selection, use raycasting. This technique detects which objects users click on by casting an invisible ray. Set up a raycaster and mouse vector:
const raycaster = new THREE.Raycaster(); const mouse = new THREE.Vector2(); In your mouse event handler, convert screen coordinates to normalized device coordinates, then use the raycaster to find intersected objects:
function onMouseClick(event) { mouse.x = (event.clientX / window.innerWidth) * 2 - 1; mouse.y = -(event.clientY / window.innerHeight) * 2 + 1; raycaster.setFromCamera(mouse, camera); const intersects = raycaster.intersectObjects(scene.children); if (intersects.length > 0) { console.log('Clicked object:', intersects[0].object); } } window.addEventListener('click', onMouseClick); This allows you to implement features like highlighting objects or displaying additional details when they’re selected.
sbb-itb-51b9a02
Performance Optimization for Real-Time Rendering
Creating smooth and immersive 3D experiences means ensuring your Three.js viewer performs well across a variety of devices. Whether it’s a budget laptop or a high-end gaming PC, the challenge is to maintain efficiency without sacrificing visual quality.
Rendering Efficiency Techniques
Improving rendering efficiency is all about smart resource management. Here are some techniques to optimize performance:
- Frustum Culling: This technique eliminates objects outside the camera’s view, ensuring the renderer focuses only on visible elements. You can also add custom distance-based culling to improve efficiency further:
const maxRenderDistance = 100; scene.traverse((object) => { if (object.isMesh) { const distance = camera.position.distanceTo(object.position); object.visible = distance < maxRenderDistance; } }); - Geometry Instancing: Reuse a single mesh for multiple objects to reduce the rendering load. For example, instead of creating individual meshes for each tree in a forest, use
InstancedMesh:const geometry = new THREE.ConeGeometry(0.5, 2, 8); const material = new THREE.MeshStandardMaterial({ color: 0x228B22 }); const instancedMesh = new THREE.InstancedMesh(geometry, material, 1000); const matrix = new THREE.Matrix4(); for (let i = 0; i < 1000; i++) { matrix.setPosition( Math.random() * 200 - 100, 0, Math.random() * 200 - 100 ); instancedMesh.setMatrixAt(i, matrix); } - Level of Detail (LOD): Swap high-detail models for simpler ones as the camera moves further away. Three.js includes a built-in LOD system:
const lod = new THREE.LOD(); lod.addLevel(highDetailMesh, 0); // 0-25 units lod.addLevel(mediumDetailMesh, 25); // 25-50 units lod.addLevel(lowDetailMesh, 50); // 50+ units scene.add(lod); - Texture Atlasing: Combine multiple textures into a single image to reduce draw calls. Adjust UV coordinates to sample different regions of the texture instead of loading separate images.
- Shadow Optimization: Enable shadow maps and tweak their settings, like reducing the
mapSizeto 1024, to balance quality and performance.
Once your rendering is optimized, the next step is to manage resources effectively and tackle debugging.
Resource Management and Debugging
As your scenes grow more complex, efficient resource management becomes crucial. Properly disposing of unused assets can prevent memory leaks:
function cleanupObject(object) { if (object.geometry) object.geometry.dispose(); if (object.material) { if (Array.isArray(object.material)) { object.material.forEach(material => material.dispose()); } else { object.material.dispose(); } } if (object.texture) object.texture.dispose(); } Use Chrome’s Performance tab to monitor frame rates and identify bottlenecks. The Memory tab provides insights into WebGL memory usage – check the "GPU" section to track texture and buffer consumption.
For better asset performance, compress textures and implement progressive loading for large models. Progressive loading ensures that users can interact with parts of the scene while other assets load in the background.
To keep track of performance, integrate monitoring tools into your viewer. For example, dynamically adjust quality settings based on frame rates:
let frameCount = 0; let lastTime = performance.now(); function checkPerformance() { frameCount++; const currentTime = performance.now(); if (currentTime - lastTime >= 1000) { const fps = frameCount; frameCount = 0; lastTime = currentTime; if (fps < 30) { renderer.setPixelRatio(Math.min(window.devicePixelRatio * 0.8, 1)); } } } By managing resources and monitoring performance, you can ensure a smoother experience for your users.
Performance Trade-Offs Comparison
Every optimization strategy comes with trade-offs. Balancing performance, visual quality, and implementation complexity is key:
| Strategy | Performance Gain | Visual Impact | Implementation Complexity | Best Use Case |
|---|---|---|---|---|
| Frustum Culling | High | None | Low | Large scenes with many objects |
| Geometry Instancing | Very High | None | Medium | Repeated objects (trees, buildings) |
| Level of Detail | High | Low-Medium | High | Objects viewed at varying distances |
| Texture Compression | Medium | Low | Low | Mobile devices, limited bandwidth |
| Shadow Map Reduction | High | Medium | Low | Performance-critical applications |
| Lazy Loading | Medium | None | Medium | Large models, slow connections |
| Preloading | Low | None | Low | Small models, fast connections |
| Lower Pixel Ratio | Very High | Medium-High | Low | Budget hardware, mobile devices |
| Reduced Anti-aliasing | Medium | Low-Medium | Low | Performance over visual quality |
For example, lazy loading is ideal when users might not interact with all content, while preloading ensures smooth interaction for smaller models. Texture compression is particularly useful for mobile users who depend on cellular networks.
Adaptive quality systems can also help by automatically adjusting settings based on the user’s device. Modern smartphones typically handle medium-quality settings, while desktops with dedicated GPUs can support higher visual fidelity.
Testing your 3D viewer on a range of devices – from entry-level Chromebooks to high-end workstations – ensures accessibility for your entire audience. This approach helps create a balanced experience, no matter the hardware.
Integrating 3D Viewers into Startup Products with AlterSquare
This section dives into how to take your Three.js implementations and turn them into production-ready 3D viewers for your startup’s products. With the right planning and execution, you can seamlessly integrate these viewers into your workflows, creating engaging and scalable user experiences.
Embedding Three.js into Startup Workflows
The first step to integrating Three.js into your startup is building a modular architecture. By creating reusable modules, you can adapt your 3D viewer across various parts of your product without having to rewrite everything from scratch. This modularity allows your viewer to grow alongside your product.
A great way to start is by developing a wrapper component. This component will handle the initialization and cleanup of Three.js, manage the WebGL context, and respond to events like resizing. It also provides a clean API for your application to interact with. Here’s a simplified example:
class ThreeJSViewer { constructor(container, options = {}) { this.container = container; this.options = { ...this.defaultOptions, ...options }; this.scene = null; this.camera = null; this.renderer = null; this.isInitialized = false; } async initialize() { if (this.isInitialized) return; this.setupScene(); this.setupCamera(); this.setupRenderer(); this.setupEventListeners(); this.isInitialized = true; } dispose() { if (this.renderer) { this.renderer.dispose(); this.container.removeChild(this.renderer.domElement); } this.cleanupEventListeners(); this.isInitialized = false; } } When integrating a 3D viewer, UI/UX considerations are key. Include smooth interactions like zooming with the mouse wheel, click-and-drag navigation, and touch gestures for mobile devices. Show loading states with progress indicators to keep users informed. For devices that lack WebGL support, offer fallback options like static images or simplified 2D graphics.
For state management, connect the 3D viewer to your app’s state system. This allows you to enable features like saving camera positions, sharing specific views, or syncing 3D interactions with other UI elements, ensuring a cohesive experience.
Using AlterSquare for MVP Development
AlterSquare’s expertise in optimized rendering and modular design makes them a great partner for embedding 3D viewers into your startup’s workflow. Their I.D.E.A.L. framework ensures a smooth process from initial planning to post-launch support, aligning your 3D viewer with your business goals while maintaining technical quality.
During the discovery phase, AlterSquare helps pinpoint where 3D visualization will provide the most value. They focus on high-impact use cases that improve user engagement or solve specific problems, avoiding unnecessary features that can waste resources.
In the design & validation phase, AlterSquare uses their UI/UX expertise to craft intuitive 3D experiences. They test interactive prototypes with real users, ensuring that the 3D viewer enhances the user experience rather than complicating it. This validation step is crucial for startups, helping avoid expensive redesigns later.
Their 90-day MVP program is designed for rapid prototyping of complex features like 3D viewers. By leveraging modern tools like Vue.js, Nuxt.js, GoLang, and Node.js, they ensure seamless integration with scalable backend systems. Additionally, their use of AI tools speeds up tasks like asset optimization and code generation, cutting down development time.
AlterSquare also offers tech team augmentation, providing engineers skilled in Three.js and startup environments. This gives you access to senior-level expertise without the overhead of full-time hires.
The agile development phase emphasizes iterative delivery, allowing you to test features with real users early and often. AlterSquare’s focus on continuous integration and deployment ensures that performance improvements and new features reach your users quickly – an essential approach for startups working to find product-market fit.
Customizing 3D Visualizations for US Audiences
To maximize user engagement, tailor your 3D viewer for your target audience. For US users, this means meeting specific expectations around speed, usability, and accessibility.
Performance is a top priority. Your 3D viewer should load within 3 seconds on average US internet speeds. For longer loading times, provide visual feedback like progress bars to keep users informed. Use adaptive quality settings to adjust performance based on device capabilities and network conditions, and include manual controls for users who prefer to fine-tune the experience.
Localization is another crucial factor. If your 3D viewer displays pricing, use the dollar sign ($) and format numbers with commas for thousands (e.g., $1,299.99). For subscription services, display prices in monthly terms, as US consumers often prefer this over annual billing.
For date and time, follow the MM/DD/YYYY format and use a 12-hour clock with AM/PM indicators. For example, show "Updated 03/15/2024 at 2:30 PM EST" instead of 24-hour time.
When displaying physical measurements, prioritize imperial units like inches, feet, and pounds, but offer metric conversions as secondary information or user preferences. For instance, show "24 inches (61 cm)" for furniture dimensions or "5.2 lbs (2.4 kg)" for product weights.
Accessibility compliance is essential in the US due to ADA requirements. Include features like keyboard navigation, screen reader compatibility, and alternative text for 3D content. Offer high contrast modes and options to reduce motion for users with visual or vestibular sensitivities.
Finally, consider regional interaction preferences. US users expect right-click context menus on desktop and long-press gestures on mobile. Include natural patterns like pinch-to-zoom and two-finger rotation for mobile viewers to make interactions intuitive.
For faster content delivery, use CDNs with strong US coverage, such as AWS CloudFront or Cloudflare. This ensures that 3D assets load quickly, no matter where users are located, improving the overall experience. For example, users on the West Coast accessing East Coast servers will benefit from these optimizations.
Conclusion and Next Steps
Creating 3D viewers with Three.js gives startups a chance to stand out and captivate their users. This guide has shown how Three.js can elevate your product with interactive 3D visuals.
Why Three.js Is a Game-Changer for Startups
For startups working with limited budgets and tight schedules, Three.js offers some clear advantages. Being open-source means there are no licensing fees, and its active community can help solve common issues without needing costly consultants.
One of the standout benefits is how quickly you can prototype. With Three.js, you can build, test, and refine 3D concepts in weeks instead of months. This speed allows you to gauge user interest and make adjustments faster, helping you stay ahead of competitors or seize new opportunities as they arise.
The modular design of Three.js also supports growth. As your startup scales from a basic MVP to a full-fledged product, your 3D viewer can grow with you. You can add advanced features like dynamic lighting, physics simulations, or collaborative tools without starting over.
Performance optimization, as discussed earlier, ensures smooth interactions and fast load times. For startups, where every user interaction matters, these technical strengths directly impact user retention and conversion rates. In short, Three.js equips startups with tools to move quickly, scale efficiently, and deliver a polished user experience.
How AlterSquare Can Help You Succeed with 3D Projects
AlterSquare’s I.D.E.A.L. framework is designed to tackle the typical hurdles startups face when implementing 3D viewers. By aligning Three.js development with your business goals and technical standards, they simplify the process of creating high-quality, interactive 3D experiences.
Their 90-day MVP program is a standout offering for startups aiming to showcase 3D capabilities to investors or early adopters. With expertise in modern tools like Vue.js, Nuxt.js, GoLang, and Node.js, AlterSquare ensures your 3D viewer integrates seamlessly with your existing systems, steering clear of technical debt that can arise from rushed development.
For startups needing flexibility, AlterSquare offers tech team augmentation. This service provides on-demand access to senior Three.js developers, allowing you to scale your team based on your project’s needs and budget without the commitment of full-time hires.
AlterSquare also emphasizes user-centric design, ensuring your 3D features are both functional and intuitive. By testing with real users during the design and validation phase, they help avoid the trap of creating flashy but impractical features.
Their rapid iteration process means new features and performance updates reach your users quickly. For startups striving to achieve product-market fit, this agility can be the difference between gaining traction or falling behind.
Finally, AlterSquare provides post-launch support to keep your 3D viewer running smoothly as your user base grows. Their experience in scaling ensures potential performance issues are addressed before they affect your users, maintaining the seamless experience that keeps customers engaged.
With the powerful combination of Three.js and AlterSquare’s structured approach, your startup is well-equipped to create engaging 3D experiences that not only captivate users but also drive meaningful business growth.
FAQs
What are the main challenges developers face when using Three.js in web applications, and how can they overcome them?
Developers often face hurdles like ensuring smooth performance across devices, handling complex 3D scenes, and maintaining browser compatibility. If left unchecked, these challenges can result in sluggish visuals or uneven user experiences.
To tackle these issues, start by optimizing your 3D assets. Techniques such as Level of Detail (LOD), texture compression, and mesh simplification can significantly enhance performance. Use profiling tools to pinpoint performance bottlenecks and refine rendering processes. Synchronizing the rendering loop with frameworks like React can also help keep interactions fluid. Finally, thorough testing on various browsers and devices is key to delivering a consistent experience for all users.
How can I ensure smooth performance for Three.js 3D viewers across different devices?
The performance of Three.js 3D viewers can fluctuate widely depending on the hardware of the device being used. Devices with less processing power might struggle with slower frame rates or noticeable latency. To keep the experience smooth and enjoyable, here are some steps you can take to optimize performance:
- Streamline the scene: Reduce the number of objects, combine geometries where possible, and opt for lower-resolution textures to ease processing demands.
- Adjust rendering dynamically: Tailor the rendering quality to the device’s capabilities by lowering detail levels or turning off certain effects on devices with limited power.
- Test on diverse devices: Evaluate performance across a range of hardware to identify bottlenecks and ensure broad compatibility.
To dig deeper into performance issues, tools like stats.module.js can be invaluable. These allow you to monitor frame rates and uncover specific areas that need improvement. By fine-tuning your 3D viewer, you can ensure a smooth and consistent experience for users, no matter what device they’re on.
How can I optimize 3D models and assets for better performance in Three.js applications?
To get better performance in your Three.js applications, start by optimizing your 3D models. One key step is to reduce the polygon count – this helps maintain a good balance between visual appeal and efficiency. Additionally, work with compressed textures at resolutions like 2048×2048 pixels, and stick to lightweight formats such as glTF for quicker loading and smoother rendering.
For scenes with a lot of detail, you can improve performance by merging smaller objects into a single geometry. Use instanced meshes for elements that repeat throughout the scene, and implement Level of Detail (LOD) techniques to adjust the complexity of models based on how far they are from the viewer. These methods can make a noticeable difference in real-time rendering, creating a smoother and more responsive experience.



Leave a Reply